
It’s done! Well, 95% done. The remaining 5% will go towards fabulous removable wallpaper I’ll be lining the drawers with. I’ll be sure to post that later, but for now, I wanted to show you how I went about turning this thrifted $50 dresser from drab to fab with only PAINT! A little reminder of how the piece looked when I bought it…

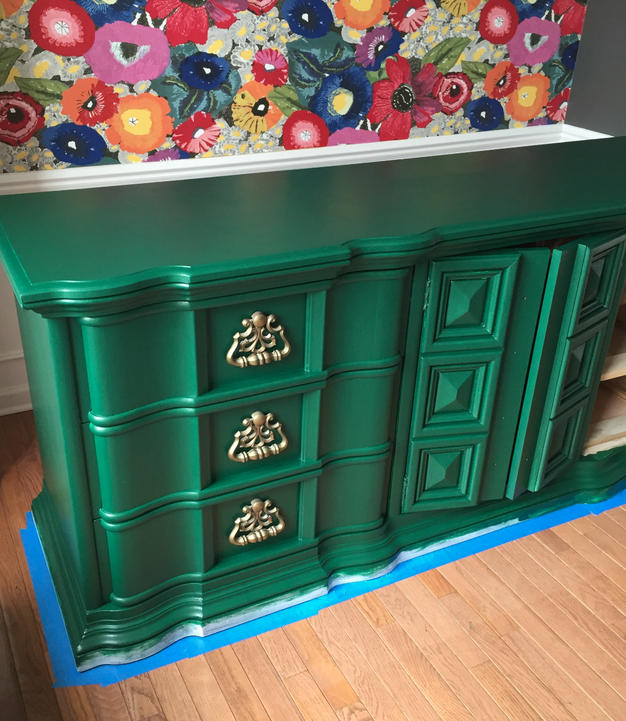
I loved the scale, I loved the curves. Heck, I even loved the tacky hardware. Although frankly, with new paint on the dresser, I find the hardware to be far from tacky! Here’s the after…

So, where did this all begin? We’ve had an 84 inch niche in our dining room that was always meant for a buffet of sorts. We just never had anything in it! So now that the dining room makeover is in the works, I knew I wanted to find a piece that filled this space and provided some good storage. This old dresser fit the bill! And I was intrigued by its “ugly duckling” kind of beauty. You can see my blog post about the decision of whether or not to replace the hardware HERE.
Let’s get to the good stuff. I started by lightly sanding the entire piece, and then wiping it down with a damp washcloth. There was a small gouge or “ding” on the top of the dresser, so I bought this wood filler, scraped it over the hole, and sanded that as well.

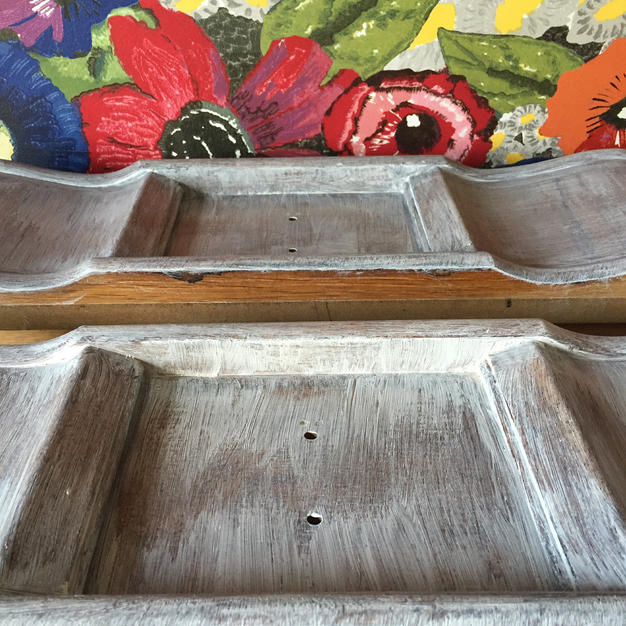
Next, I removed all of the drawers and made sure to label each of them inside the drawers so I knew exactly where to return it. What I mean by that is, for example, I wrote “TR” inside a drawer with a pencil if it was the “top right” drawer. May seem silly, but sometimes, especially with old pieces of furniture, drawers fit specifically where they’re suppose to go. Otherwise you may have a hard time opening and closing them. I did the same thing when I removed the hardware, just in case the holes were slightly off. Here’s “middle right” …

Next came the priming…

Once the priming was done, it was time to paint! I chose Benjamin Moore’s Chrome Green. It’s one of their exterior colors, and I was really drawn to the deep rich hue. All of the detail in this dresser made it very tricky to reach and cover well. I used a paintbrush, a four-inch roller, and a tiny brush for the crevices. It took some coats, but overall it went well.
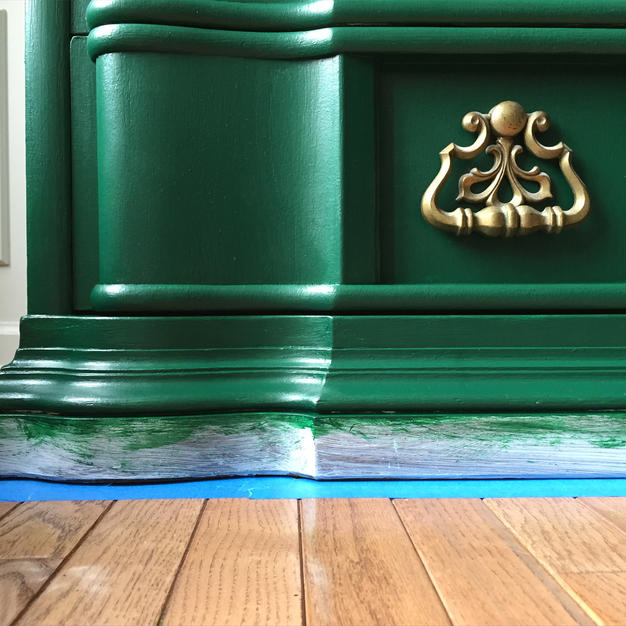
If you missed this tip on Instagram, I taped the floor because the piece was just too heavy to lift and put something under it for floor protection.


I’m thrilled with the outcome and I hope it inspires you to give life to an old piece you may have lying around your house! Please stay tuned for the FULL REVEAL of this dining room makeover, including a list of all product sources, coming next week!
Cheers,
Haneen


Love this piece of furniture! You really made it look fabulous. Gorgeous green! Wondering what finish you went with for the BM Chrome Green?
Thank you, Amber! If I’m being honest, I can’t remember and I’m surprised I didn’t put that info in this post! Lol! So sorry. I believe it was a Satin – it isn’t flat, but it also isn’t glossy.
Wow this is stunning! Can I ask what product you use to seal your furniture?
Thank you so much! To be honest, I didn’t seal this piece! I was lazy and figured it wouldn’t get a lot of action in the dining room:)
I Love your color combination and the makeover is outstanding! I have to ask where did you get the flower wallpaper/mural behind the dresser? Thanks
Thank you! Here’s a link to the wallpaper: https://rstyle.me/+U3QhaKUUJx3R-Z_O86itzg
Love it! So beautiful. I’m working on a green buffet right now. Where’s the wallpaper from?
Thank you! Here’s a link to the wallpaper: https://rstyle.me/+U3QhaKUUJx3R-Z_O86itzg
Beautiful and inspirational. Do you know what style dresser this is (era, country, etc.)? Currently hunting sporadically for something similar but only finding mid century everywhere.
So sorry I missed this question! Unfortunately I don’t have an answer! So sorry, I’m unsure.
Where did you purchase the floral wallpaper?
Here’s a link to it! https://rstyle.me/+U3QhaKUUJx3R-Z_O86itzg
GORGEOUS! I never comment on anything but This was more than deserving ! As a fellow thrifter, what a great find ! Would love for my living room ! You have great taste 😉
Thank you so much!!
This is beautiful!! I like it against the dark gray walls and bright wallpaper. What gray is that on your walls??
Thank you! It’s SW Urbane Bronze
You have inspired me!! I was looking for a good classic green color to paint an old pie safe I have . Def going this route !! Thank you! Your piece looks beautiful
How beautiful. Did u finish the piece off with anything besides the green paint?